Serving the San Francisco Bay Area & Northern California
IG Design & Build journal

Ideas for
better living.

Design guidance, sustainable building strategies, and thoughtful ways to make home work beautifully.

Planning guide · September 8, 2026

How Much Does a Bay Area Home Renovation Cost in 2027?

A useful renovation budget accounts for far more than construction. Design, engineering, permits, selections, site conditions, and contingency all shape the final investment.

Begin with scope, not square footage

Two homes of the same size can require very different budgets. Moving walls, replacing structural elements, upgrading an electrical service, correcting drainage, or opening an older house can add more cost than the visible finishes. Before attaching a number to the project, define which rooms will change, which systems will be touched, and what level of material and detailing the finished home should have.

In the Bay Area, access, labor, jurisdictional requirements, existing conditions, and finish expectations can vary widely. A narrow hillside lot will not build like a level suburban property, and a cosmetic kitchen refresh is not comparable to a kitchen that relocates plumbing and removes a bearing wall.

Illustrative 2027 planning ranges

Project typeIllustrative range
Focused bathroom renovation$45,000–$100,000+
Full kitchen renovation$100,000–$250,000+
Interior renovation of several connected rooms$250,000–$650,000+
Major addition or whole-home transformation$600,000–$1,500,000+

These broad figures are planning illustrations, not bids or market guarantees. The property, scope, drawings, contractor pricing, finish level, escalation, and local requirements must be evaluated before a reliable budget can be established.

Remember the costs around construction

A responsible early budget should include architecture and interior design, structural and civil engineering when needed, surveys or testing, permit and agency fees, construction, fixtures and finish allowances, temporary living arrangements, and landscape restoration. A contingency is not optional padding; it is protection against conditions that could not reasonably be confirmed before work began.

A useful early allocation
Keep the construction estimate, professional services, owner-selected fixtures and finishes, agency costs, and contingency visible as separate lines. That makes trade-offs easier to understand.

Align design and cost early

The least expensive time to change a project is while it is still drawn on paper. During design, test the major decisions against the budget: overall footprint, structural moves, window sizes, cabinetry quantity, appliance package, mechanical systems, and finish level. If the target and the concept are drifting apart, adjust before permit drawings and purchasing make the changes more expensive.

Build a decision-ready estimate

A single price without assumptions can create false confidence. Ask what is included, which selections remain allowances, how escalation is handled, what existing conditions are excluded, and how changes will be documented. A well-organized estimate should help the team make decisions—not simply produce a total.

Build a realistic project plan →
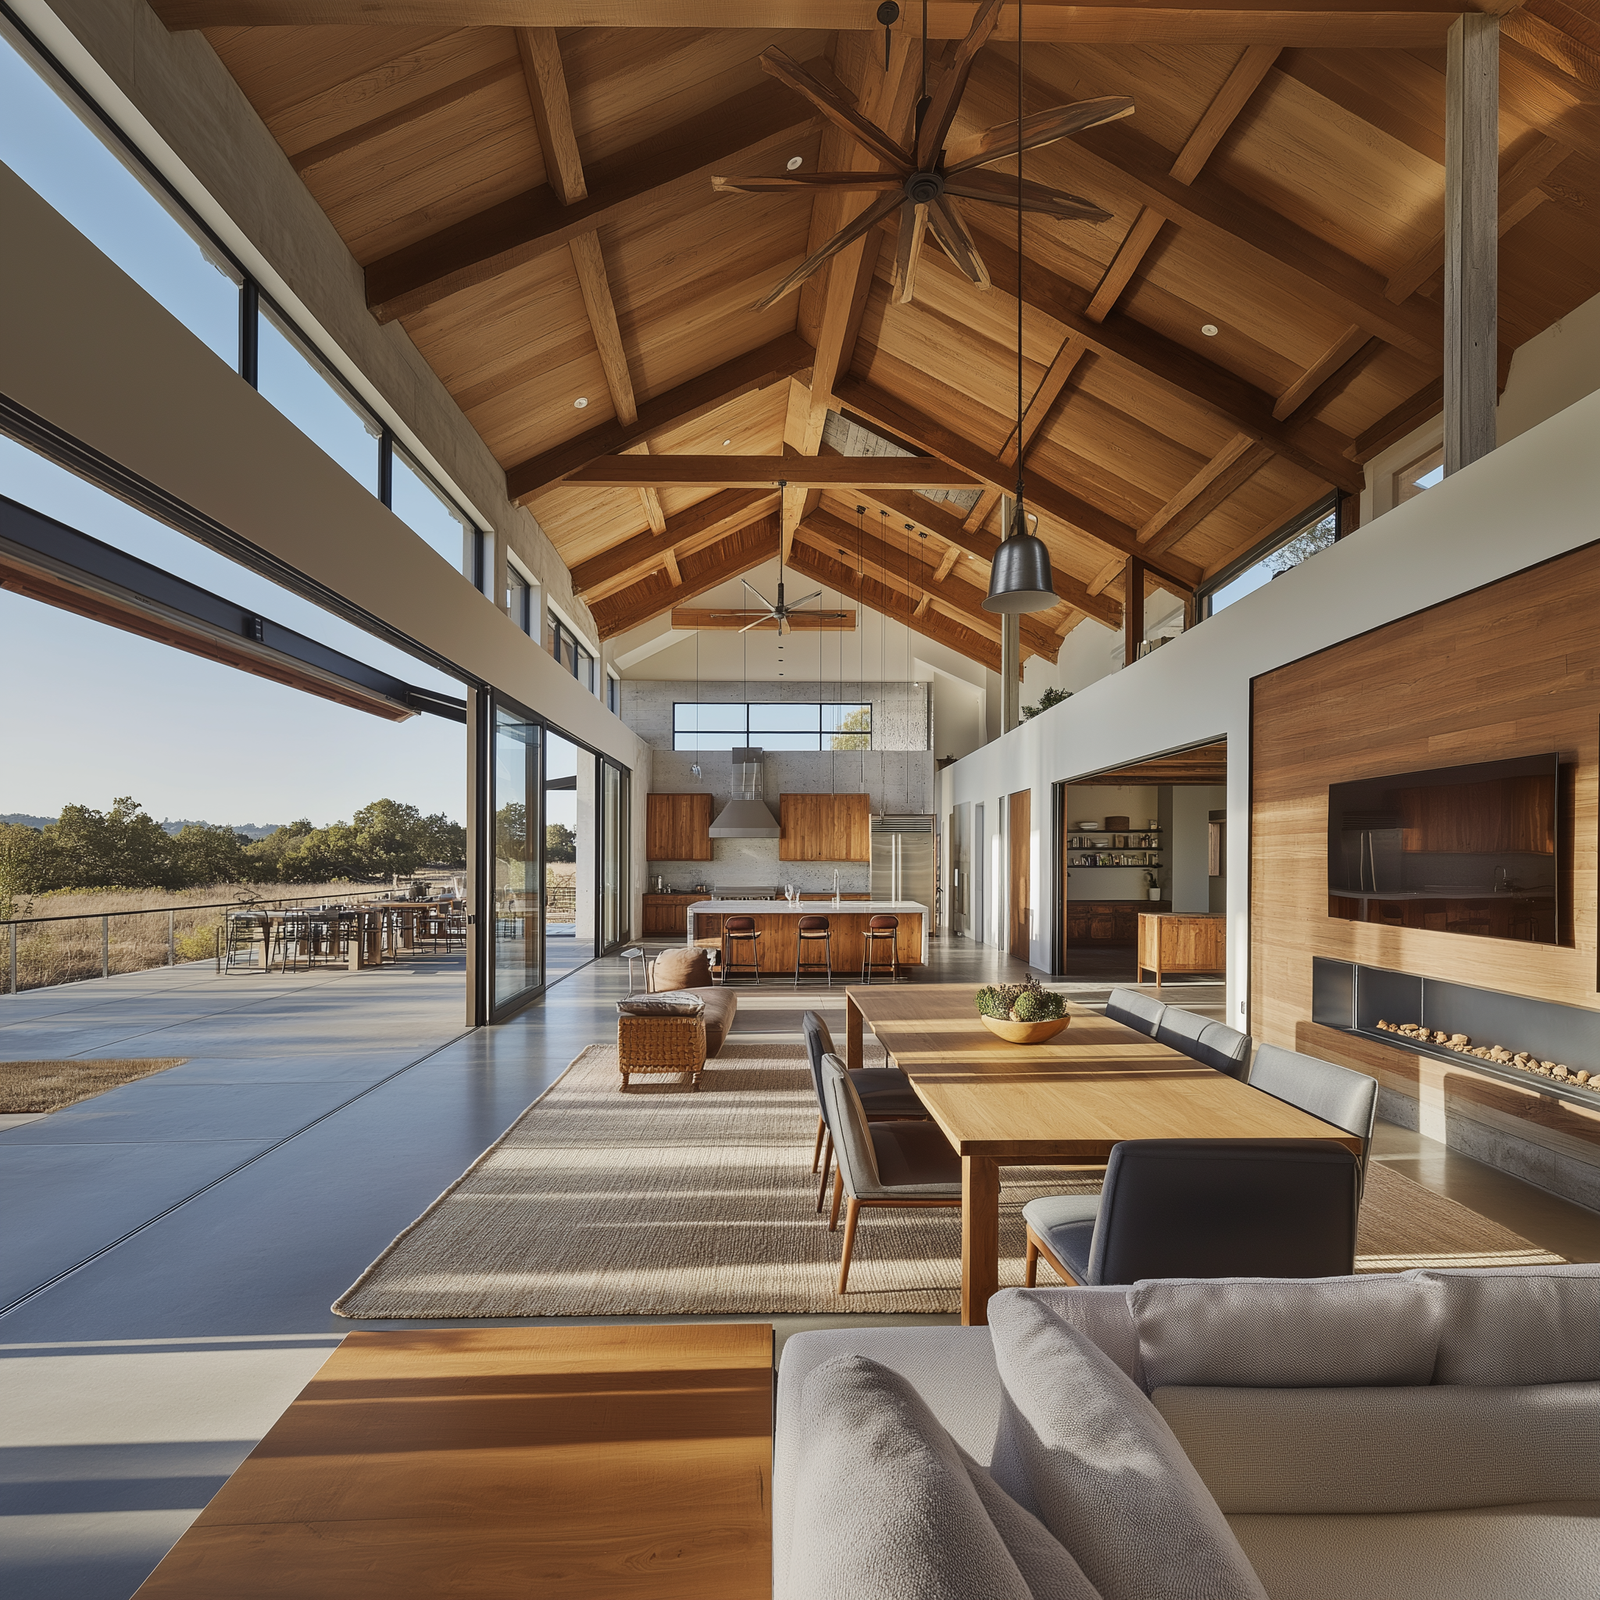
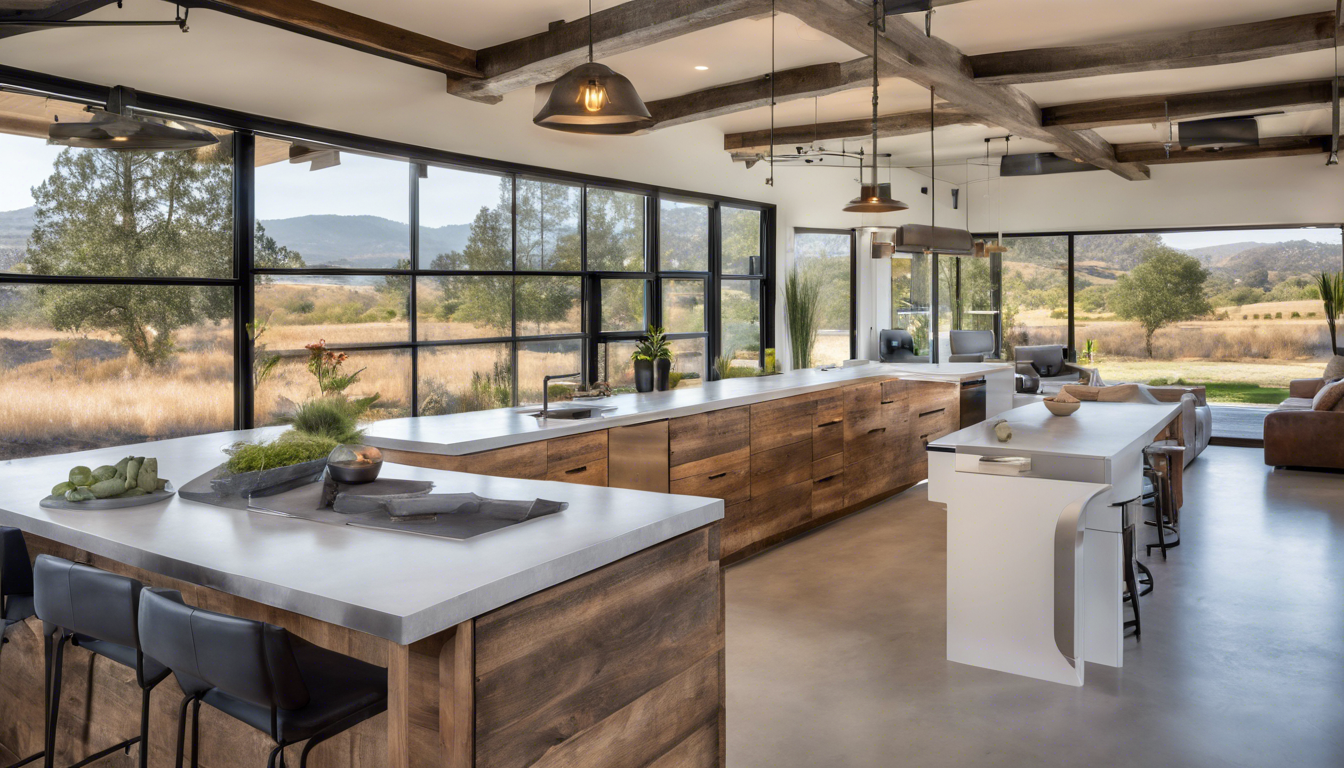
Refined modern interior illustrating the finish level of a major renovation
Our process · September 8, 2026

The Design-Build Process: From First Ideas to Final Walkthrough

When design and construction are coordinated from the beginning, creative ideas can be tested against cost, permitting, materials, and buildability before they become expensive surprises.

1. Consultation and discovery

The process begins with the people who will live in the home. We discuss how the existing space works, what feels unresolved, the desired scope, aesthetic direction, timing, and preliminary investment range. Photographs, inspiration, a wish list, and honest priorities help establish a useful brief.

2. Feasibility and existing conditions

Before developing a detailed design, the team studies the property. This may include field measurements, zoning and permit research, existing drawings, utility capacity, site access, structural questions, and likely consultant needs. Early investigation cannot uncover everything, but it can identify the issues most likely to affect scope and budget.

3. Concept design

Plans, elevations, material direction, and key views turn the brief into a spatial idea. This is the right moment to compare alternatives: expand or reorganize, open or define, preserve or replace. The preferred concept should solve circulation and function before decorative selections take over the conversation.

4. Budget alignment and documentation

As the design develops, construction input keeps it grounded. The team reviews structural moves, systems, product lead times, and finish allowances, then refines the drawings for engineering and permit submission. Interior selections are documented alongside architectural decisions so outlets, lighting, plumbing, cabinetry, and trim align.

5. Permitting and procurement

The permit package is submitted to the governing agencies and revised in response to plan-check comments. At the same time, long-lead products can be identified and selections completed. Ordering too early creates risk; ordering too late can interrupt construction. A coordinated schedule ties purchasing decisions to approved information and the build sequence.

6. Construction and communication

Construction begins with site protection, selective demolition, and verification of concealed conditions. Regular communication keeps decisions, schedule, costs, and responsibilities visible. The work progresses through structure and rough systems to insulation, walls, cabinetry, finishes, fixtures, and final detailing, with required inspections occurring along the way.

7. Completion and walkthrough

At the end, the team reviews the home, completes remaining details, gathers relevant product and care information, and closes required permits. A successful walkthrough is not just a punch list—it is the transition from construction project to lived-in home.

One connected conversation
Design intent, technical requirements, budget, purchasing, and field execution should inform one another throughout the project.
Start the design-build conversation →
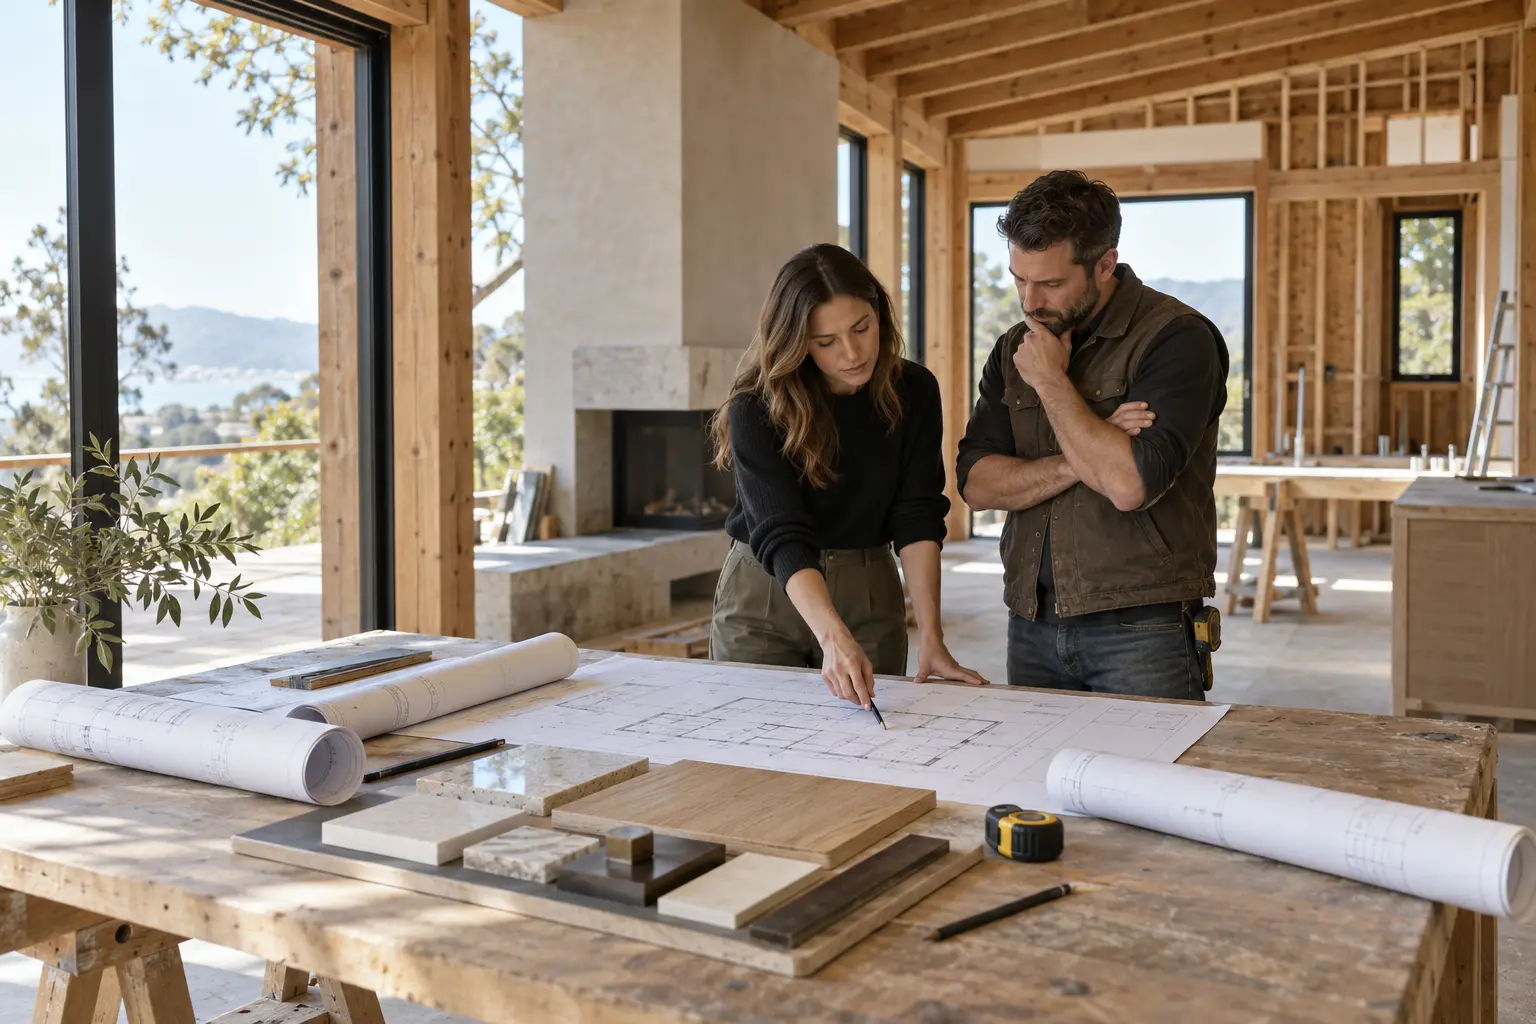
Designer and builder reviewing plans and material samples during a residential renovation
Kitchen design · September 8, 2026

How to Plan a Kitchen That Still Looks Beautiful in 10 Years

A lasting kitchen is not designed by avoiding personality. It is designed by giving function, proportion, durability, and a restrained material story priority over short-lived novelty.

Make the plan do the hard work

Begin with movement: groceries arriving, food being prepared, dishes being cleared, and people crossing the room. The refrigerator, sink, cooking area, pantry, and cleanup zone should form an efficient sequence without forcing household traffic through the primary work aisle. An island should earn its footprint; if it narrows circulation or interrupts doors, a peninsula or table may serve the room better.

Design storage around real objects

Inventory what the kitchen needs to hold before drawing cabinetry. Everyday dishes belong near the dishwasher. Spices and utensils belong near preparation and cooking. Small appliances need usable outlets and a home that does not require moving three other objects first. Full-extension drawers often make deep storage more accessible than lower cabinets with fixed shelves.

Choose a quiet material hierarchy

Select one dominant cabinet expression, one primary countertop, and a limited supporting palette. Natural wood, painted cabinetry, stone, metal, and tile can all coexist when their undertones relate and one material clearly leads. Let permanent elements carry texture and proportion; bring easily changed color through paint, stools, art, and textiles.

A cohesive example
Warm white perimeter cabinets, a natural oak island, softly veined quartz or stone, unlacquered brass accents, and dark bronze window frames create contrast without relying on a trend-heavy motif.

Specify for use, not just the sample

A small material sample cannot show how a surface will behave beside heat, water, sunlight, and daily cleaning. Ask about staining, scratching, etching, refinishing, grout maintenance, and replacement. Durable does not always mean indestructible; it means the expected aging is compatible with the household.

Layer lighting and ventilation

Use ambient light for the room, task light at counters and sinks, and accent light where it adds depth. Keep color temperature consistent across connected spaces and use high-quality dimmable LEDs. A properly planned range hood is equally important: duct routing, makeup-air requirements, noise, capture area, and cabinet coordination should be resolved before the ceiling and millwork are finalized.

Plan power for today and tomorrow

Coordinate appliance specifications, dedicated circuits, charging, under-cabinet outlets, and possible future electrification early. California’s evolving energy standards continue to favor efficient electric systems, so panel capacity and appliance choices deserve attention during planning—not after cabinetry is ordered.

Energy and electrical requirements depend on project scope and jurisdiction. Confirm the applicable code and product requirements with the project team.

Plan a lasting kitchen →
Warm modern kitchen with natural wood, restrained finishes, and layered lighting
Permit guide · September 8, 2026

What Homeowners Should Know About Bay Area Remodel Permits

A permit is not simply paperwork at the beginning of construction. It is a review and inspection process that should be built into the design, schedule, and budget.

When a remodel commonly needs permits

Requirements vary by city and county, but projects that alter structure, electrical wiring, plumbing, mechanical systems, windows, exterior walls, occupancy, or the building footprint commonly require approval. Even a kitchen or bathroom project may need permits when it relocates utilities or changes regulated systems. Cosmetic work may be exempt, but the local building department—not an assumption—should make that determination.

Building approval may be only one layer

Depending on the property and scope, review may involve planning or zoning, building, public works, fire, utilities, or other agencies. Historic status, hillside conditions, flood zones, easements, protected trees, septic systems, and homeowners’ association rules can add separate requirements. Identify these overlays before investing in a design that may not be approvable.

What a complete package can include

  • Existing and proposed plans, elevations, sections, and construction details
  • Site information and zoning data
  • Structural drawings and calculations when required
  • Energy documentation and product performance information
  • Mechanical, electrical, plumbing, drainage, or civil information as applicable
  • Application forms, owner information, contractor information, and required fees

Incomplete or inconsistent drawings often create avoidable review comments. The architectural set, engineering, energy documents, and selected products need to tell the same story.

Plan check is a conversation

After submittal, reviewers may issue comments requesting clarification or revisions. The design team coordinates responses, updates the documents, and resubmits. Approval time depends on jurisdiction, project type, reviewer workload, agency coordination, and the completeness of both the original package and each response.

Inspections continue through construction

Permit approval authorizes the work; it does not complete the process. Required inspections occur at defined stages, often before work is concealed. The sequence may include foundation or framing, rough mechanical/electrical/plumbing, insulation, waterproofing or lath, and final inspections. Missing an inspection can mean opening finished work.

Before design begins
Confirm the authority having jurisdiction, zoning constraints, likely permit types, consultant needs, submittal method, current fees, and whether the property has unresolved prior permits.

This is general planning information, not legal or code advice. Requirements and fees change. Confirm current rules directly with the city or county responsible for the property. Bay Area homeowners can begin with their local building department; Contra Costa County’s official guidance, for example, notes that requirements vary by project type and scope and provides separate checklists for common remodeling work.

Coordinate design and permitting →
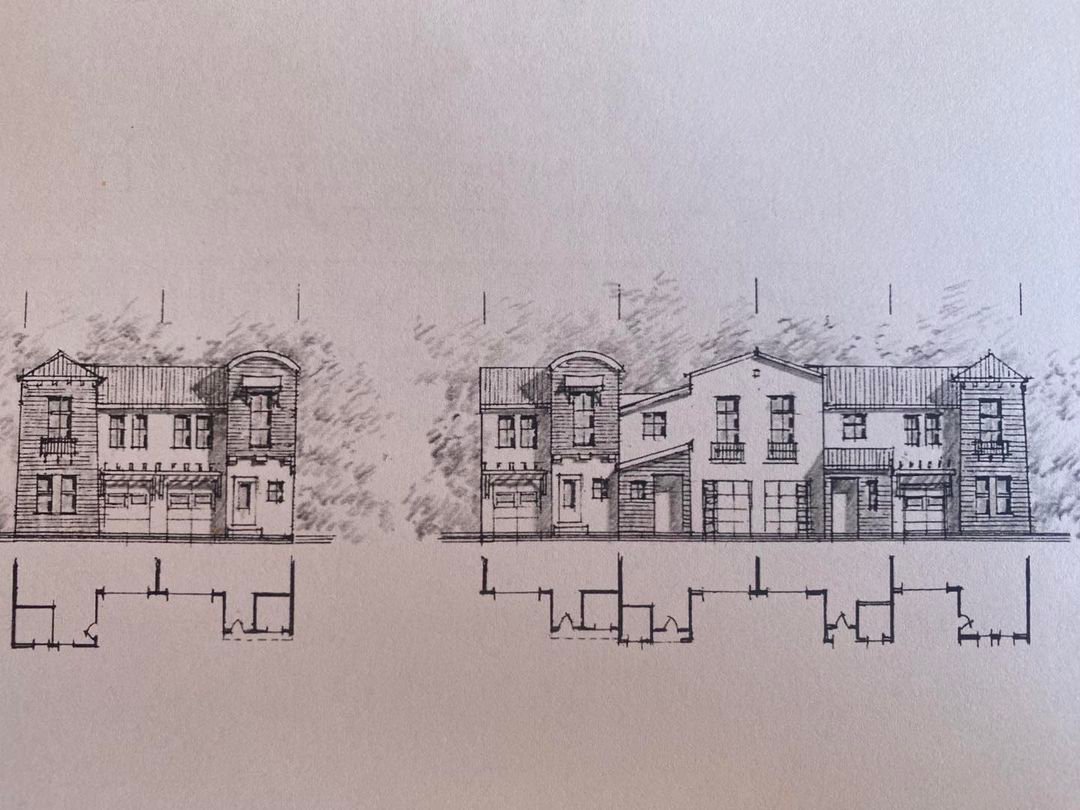
Residential architectural drawings used to coordinate design and permit review
Living well · September 8, 2026

Designing a Multigenerational Home for Privacy and Connection

A successful multigenerational home makes togetherness easy without making privacy difficult. The best plans support independence, dignity, and changing family roles over time.

Start with relationships and routines

There is no universal multigenerational plan. Grandparents who share dinner every evening need something different from an adult child who keeps an independent schedule or a caregiver who lives on site. Discuss sleeping, cooking, bathing, work, childcare, guests, noise, parking, and outdoor access before deciding whether the answer is a reconfigured home, an addition, a junior unit, or a detached ADU.

Create a gradient of privacy

Think beyond “shared” and “separate.” A private bedroom suite can open to a small sitting area, which connects to the family room, which then opens to a shared garden. This sequence lets residents choose how much interaction they want. Locating bedrooms away from the loudest gathering spaces and plumbing walls can also improve acoustic comfort.

Plan for independent daily life

Depending on local rules and family needs, an area may include a private entrance, accessible bathroom, beverage center, laundry, patio, or full kitchen. Provide adequate storage and convenient controls so one household member does not need to enter another person’s private space for everyday tasks. At the same time, preserve a generous shared room where the family can genuinely gather.

Use universal design quietly

Features that support mobility can be integrated without making a home feel institutional. A step-free primary entry, wider clear openings, lever hardware, comfortable circulation, good lighting, reinforced bathroom walls, and a curbless shower can benefit children, guests, injured family members, and older adults alike. California HCD’s universal-design guidance highlights adaptable routes, doors, controls, kitchens, and bathrooms that can support a wider range of abilities.

Separate sound, air, and temperature

Privacy is sensory as well as visual. Consider insulated interior assemblies, solid-core doors, carefully placed plumbing, separate temperature controls, and ventilation that prevents cooking or bathroom odors from migrating. Where residents keep different hours, lighting and circulation should allow someone to arrive late without crossing quiet sleeping zones.

Design for the next chapter

A suite for a parent may later serve a nanny, returning adult child, office, or guest room. An ADU may transition between family use and rental use where permitted. Plan door locations, utilities, storage, and accessibility so the space can change role with minimal demolition.

Connection by choice
The goal is not maximum separation or maximum togetherness. It is a home that lets each person move comfortably between the two.
Plan a home for every generation →
Welcoming modern home designed for flexible family living
Design guide · May 6, 2026

How to Design the Perfect Garage Gym

A personal fitness space should support the way you actually train—while remaining durable, comfortable, and integrated with the rest of the home.

Begin with the workout

Before selecting equipment or finishes, make a realistic list of the activities the room needs to support. Strength training needs clear space around a rack and durable flooring. Cardio equipment needs power, ventilation, and comfortable sightlines. Yoga and mobility work need an open zone that is not treated as leftover space.

Measure every machine at its full operating footprint, including the arc of doors, benches, weights, and your own movement. Then preserve a clear circulation path from the garage entrance to the house and any storage or utility equipment that must remain accessible.

Create zones

  • Strength: Place racks and free weights against the most structurally suitable wall, with mirrors used thoughtfully rather than everywhere.
  • Cardio: Locate powered equipment near dedicated outlets and natural ventilation.
  • Mobility: Reserve uncluttered floor space for stretching, yoga, and recovery.
  • Storage: Use wall-mounted systems and closed cabinetry to keep small equipment off the floor.

Build for impact, air, and sound

Dense rubber flooring helps with grip and impact, but heavy lifting may still require reinforced platforms and structural review. Comfortable training also depends on air movement: an insulated envelope, quiet fan, operable window, or properly sized conditioned system can make the gym usable year-round.

For an attached garage, address sound transmission at shared walls and ceilings. Acoustic insulation, resilient assemblies, door seals, and strategic equipment placement can keep early workouts from waking the house.

Light it like a real room

Use even overhead LED lighting with good color rendering, then add targeted light at mirrors or work zones. Avoid glare directly above benches and reflective hot spots in mirrors. A restrained material palette—charcoal rubber, natural plywood or oak, blackened hardware, and one accent color—keeps the gym connected to the home rather than feeling improvised.

Discuss your project →
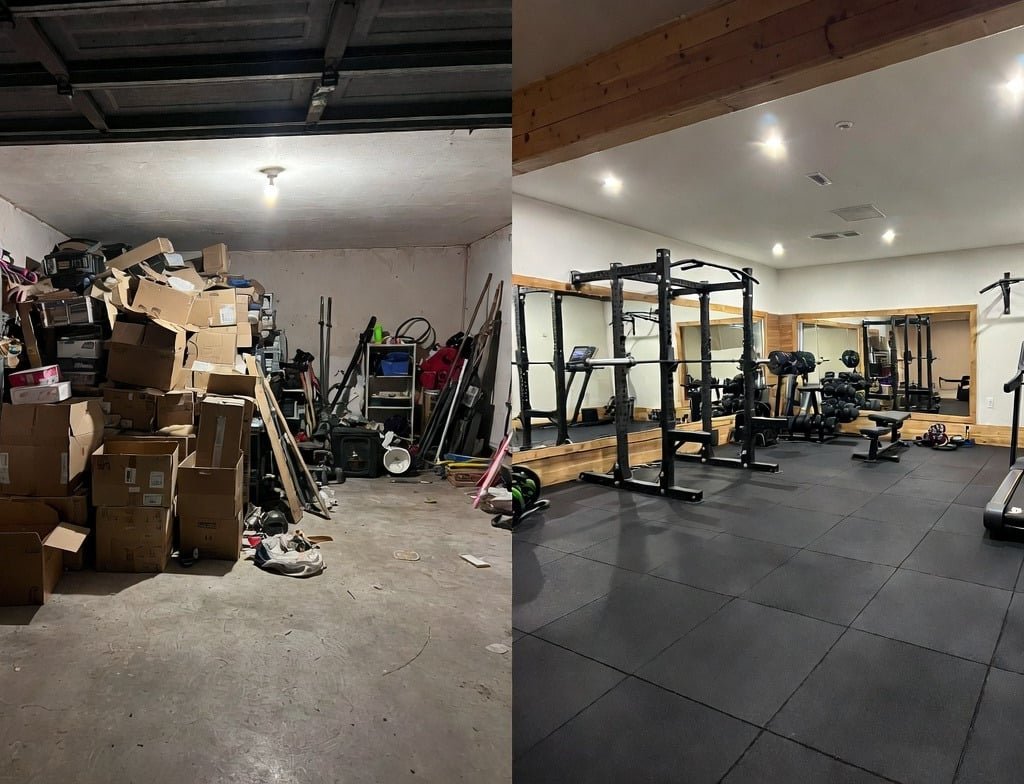
A thoughtfully designed home garage gym
Design guide · May 6, 2026

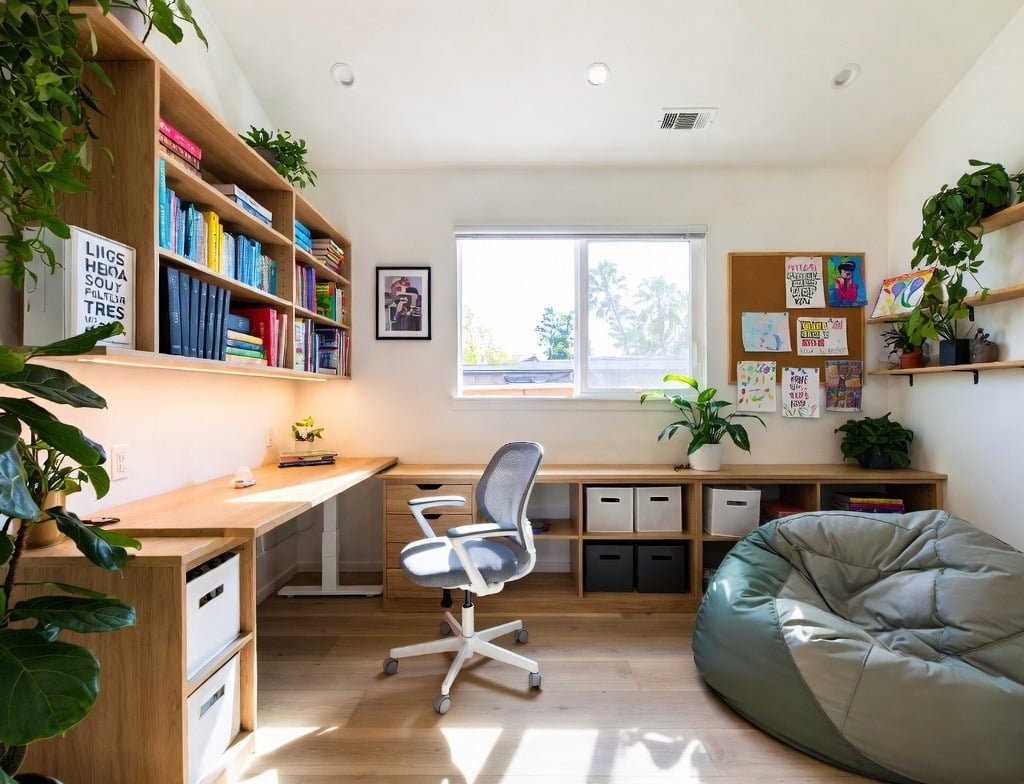
How to Design the Perfect Kids’ Study Area

A dedicated place to read, draw, think, and organize can support focus today while adapting to the needs of a growing child.

Choose the right location

The best study space is close enough for support but removed from the household’s busiest circulation. Younger children may work well near the kitchen or family room; older students often need more acoustic privacy. A landing, wide hallway, bedroom niche, or former closet can work when it receives enough light and has comfortable proportions.

Start with ergonomics

Provide a work surface deep enough for a laptop, open book, and writing space. Pair it with an adjustable chair and keep the screen near eye level. If more than one child shares the area, give each person a defined zone and individual task lighting.

Layer storage by frequency

  • Keep everyday pencils, paper, and chargers within arm’s reach.
  • Use drawers or closed cabinets for visual calm.
  • Place reference books and display items on higher shelves.
  • Add one inbox for papers that need a parent’s attention.

A magnetic panel, pinboard, or narrow picture ledge creates a place for schedules and work-in-progress without letting the entire wall become cluttered.

Use light and color intentionally

Position the desk near daylight without placing a bright window directly behind the screen. Add a high-quality LED task light and soft ambient light so the contrast is comfortable after sunset. Low-sheen finishes reduce glare, while a restrained base palette can be personalized with art, textiles, and easily changed accessories.

Design for change

Children grow quickly, so prioritize adjustable furniture, accessible power, durable materials, and storage that can change purpose. A well-planned study area can begin as a drawing station, become a homework desk, and eventually support a teenager’s computer and creative work.

Plan a family-focused space →
A calm children's study area
ADU guide · September 4, 2026

The Backyard ADU: Small Space, Big Possibility

An accessory dwelling unit can turn underused space into a flexible, independent home—without asking the main house to do everything.

What is an ADU?

An accessory dwelling unit is a self-contained secondary home on the same property as a primary residence. It has its own living, sleeping, cooking, and bathroom facilities. It might be a detached backyard cottage, an attached addition, a converted garage, or a compact home created within an existing structure.

You may also hear small modular concepts described as container housing. A shipping container can provide the structural starting point, but it is not a permitting shortcut: once it becomes a home, it must meet applicable foundation, structural, fire, energy, ventilation, plumbing, and electrical requirements.

Why size matters

In California, local lot-coverage or floor-area rules generally cannot prevent an ADU of at least 800 square feet of interior livable space when it maintains four-foot rear and side setbacks. Separately, ADUs with 750 square feet or less are exempt from certain impact fees. A carefully planned 600–750-square-foot one-bedroom ADU can therefore be an appealing sweet spot, subject to the property’s local requirements.

Think compact, not compromised.
A simple rectangle, stacked plumbing, plentiful daylight, and built-in storage can make 720 square feet feel calm and generous.

One footprint, many lives

Guest house
Grandparents’ home
Teenager’s space
Quiet home office
Private gym or studio
Nanny or caregiver suite

An illustrative Bay Area budget

Planning categoryIllustrative range
Survey, feasibility & site investigation$5,000–$15,000
Architecture, engineering & energy documentation$35,000–$70,000
Permit, plan-check & agency fees$8,000–$25,000
Site work & utility connections$35,000–$100,000
Construction, fixtures & finishes$225,000–$375,000
Contingency & landscape restoration$35,000–$75,000
Illustrative project total$343,000–$660,000

Planning illustration only—not a bid. Costs and fees vary with jurisdiction, access, utilities, soils, slope, fire requirements, finish level, and market conditions.

The permitting path

A complete California ADU application that meets objective standards is generally reviewed ministerially, and the local agency must generally approve or deny it within 60 days. Confirm local standards and utilities first, document the site, develop plans, coordinate engineering, submit, respond to plan check, and build only after permits are issued.

Explore an ADU project →

Illustrative plan · 24′ × 30′ · 720 sq. ft. · 1 bed / 1 bath. Concept only; final plans must be developed for the property and governing code.

Lighting forecast · 2027

One Home. One Lighting Language.

The strongest lighting plans repeat a small vocabulary of finish, form, glass, and light quality—then adjust scale and function for each room.

What we expect to see in 2027

Residential lighting is moving away from isolated statement pieces and toward quieter whole-home systems. Decorative fixtures will retain personality, but enduring homes will pair them with discreet architectural lighting, warm natural materials, softened geometry, and low-glare illumination.

Match the family, not the fixture

Start with a design sentence for the house: soft modern forms, aged brass highlights, blackened bronze structure, and opal glass. Use it as a filter. The dining pendant can be expressive while hallway sconces remain quiet; they belong together because finishes, curves, and diffusers repeat.

Aged brass
Blackened bronze
Opal glass
Warm linen

Limit the core palette to two metals and one or two diffuser materials. Repeat each finish, coordinate visible canopies and cords, and avoid buying an entire matching collection. Cohesive should feel related, not catalogued.

A sample lighting schedule

SpaceFixture directionLED target
EntrySculptural aged-brass pendant with opal glass2700K · dimmable
KitchenBlackened-bronze task pendants; discreet recessed light3000K · 90+ CRI
DiningOverscaled aged-brass fixture with linen or glass diffuser2700K · dimmable
LivingBronze floor lamps and plaster or opal-glass sconces2700K · zoned
BedroomsAged-brass bedside sconces; minimal ceiling light2700K · warm dim
BathroomsWet-rated opal-glass sconces3000K · 90+ CRI
ExteriorShielded bronze downlights scaled to openings2200–2700K

Build efficiency into the plan

LEDs use less energy and last longer than traditional incandescent sources, but efficiency is useful only when the light is comfortable. Choose by lumens rather than watts, keep color temperature consistent across connected sightlines, and specify high color rendering where materials, art, food, and skin tones matter. Look for independently tested products, compatible dimmers, replaceable components, and controls that separate ambient, task, and accent layers.

Carry the architecture outdoors

Exterior fixtures should belong to the elevation in daylight and create calm pools of light after dark. Match their metal family to window frames, door hardware, gutters, or roofing. Repeat one glass treatment and establish hierarchy: the main entry may have the largest fixture, secondary doors step down, and paths rely on low, shielded light.

Avoid glare and upward light. Warm, fully shielded sources, timers, motion controls, and lighting only where needed improve comfort and reduce wasted energy. Coordinate the schedule before electrical rough-in so the decorative and technical layers work as one system.

Plan your home’s lighting →
Green building · January 1, 2025

Transforming Modern Living Through Green Building

IG Design & Build’s modern farmstead approach brings aesthetics, utility, and environmental responsibility into one considered home.

Design with purpose

Led by Ingrid Sywak, IG Design & Build approaches sustainability as part of the architecture—not an accessory added at the end. A high-performing home begins with orientation, proportion, daylight, shade, and an efficient envelope. Those decisions reduce mechanical demand while making rooms more comfortable.

Choose materials deliberately

Material selection considers durability, indoor air quality, maintenance, embodied impact, and the distance a product travels. Locally available materials, responsibly sourced wood, long-lasting finishes, and assemblies that can be repaired help reduce waste over the life of the home.

Use energy and water intelligently

  • Efficient electric appliances and heat-pump systems
  • Solar-ready roofs and renewable-energy planning
  • High-performance windows and careful air sealing
  • Water-wise fixtures, planting, and irrigation
  • Smart controls that support comfort without unnecessary use

Reduce construction waste

Accurate takeoffs, selective deconstruction, recycling, and reuse can keep valuable material out of landfill. Thoughtful documentation also prevents costly changes and rejected work. Sustainability and construction discipline frequently reinforce each other.

A home that supports daily life

Green building succeeds when it makes the home better to inhabit: quieter rooms, stable temperatures, cleaner air, useful daylight, lower operating demands, and materials that age gracefully. The result is not simply an efficient structure, but a durable setting for modern life.

Build with purpose →
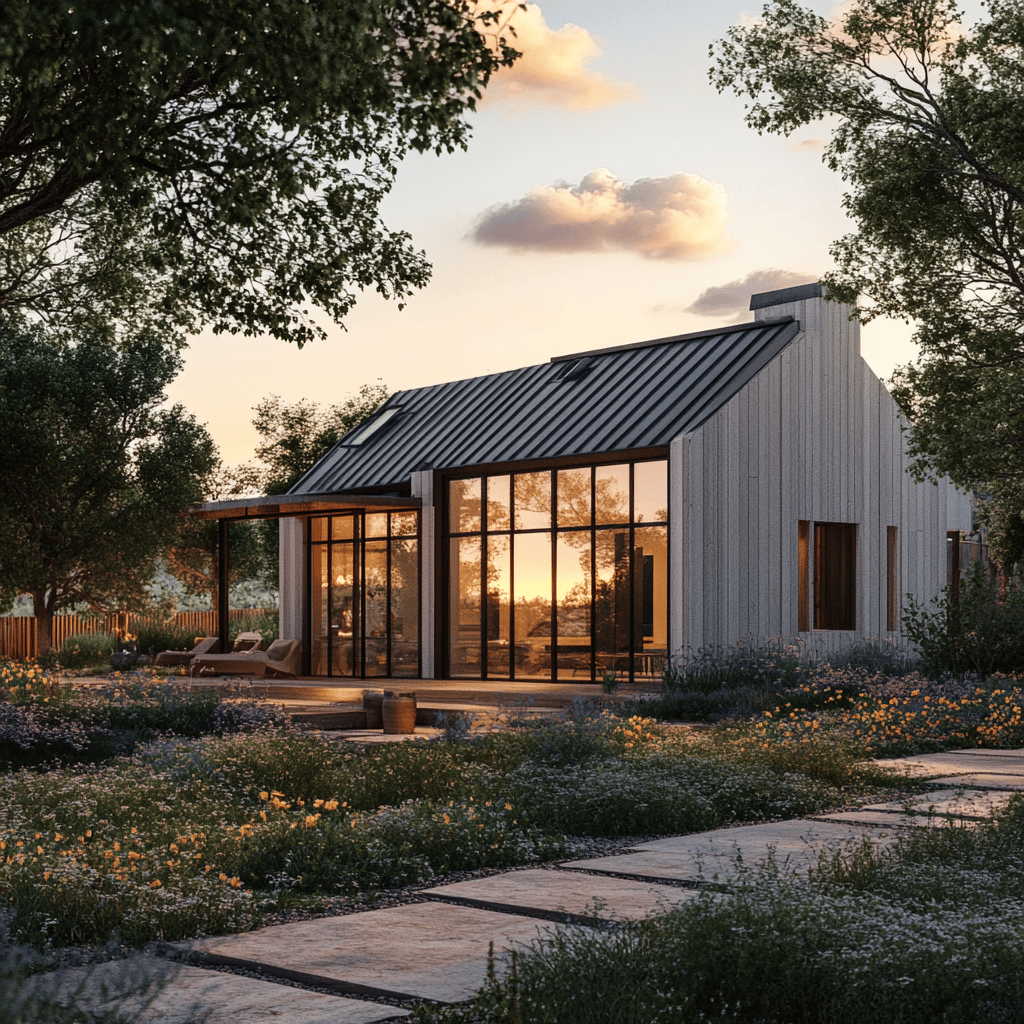
Modern green residential design
Sustainable design · January 1, 2025

Creating Sustainable Spaces for Modern Living

Beautiful spaces become more meaningful when they use resources wisely, support well-being, and remain useful for years.

Begin with what already exists

The most sustainable square foot can be the one you do not need to build. Before expanding, study whether circulation, storage, daylight, or furniture planning can help the existing footprint perform better. During renovation, identify cabinetry, flooring, fixtures, or framing that can be preserved or reused.

Design for flexibility

Rooms that can change purpose extend a home’s useful life. A guest room may also function as an office; an ADU may support family, work, or caregiving at different stages. Durable, adaptable spaces reduce the pressure for future demolition and reconstruction.

Create a healthy interior

Prioritize ventilation, moisture control, low-emitting materials, daylight, and comfortable acoustics. Select finishes for how they perform as well as how they look. Natural materials can add warmth and texture, but they should be used where their maintenance and durability make sense.

Connect systems and aesthetics

Energy-efficient lighting, water-saving fixtures, efficient appliances, insulation, air sealing, and smart controls should be coordinated with the design rather than hidden in a separate technical conversation. When the design and construction teams work together, registers, controls, lighting, and equipment can support the visual concept.

Think beyond move-in day

A sustainable project considers replacement cycles, service access, future electrification, landscape water, and the ability to repair components. Timeless does not mean neutral or impersonal; it means the essential planning is strong enough to accommodate changing taste.

IG Design & Build combines these decisions into a cohesive process, helping the finished space feel considered from the broadest environmental strategy to the smallest material detail.

Create a sustainable space →
Sustainable interior for modern living